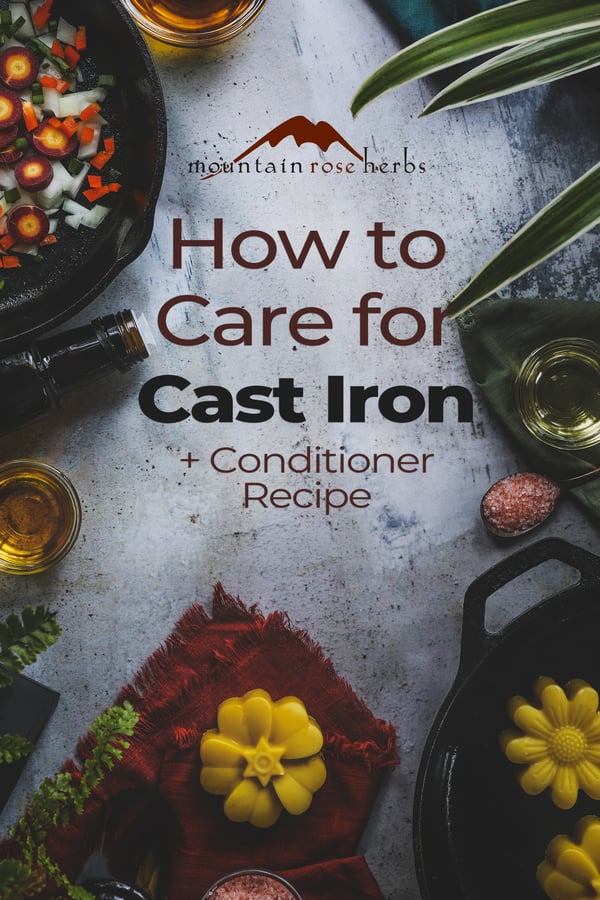
JUMP TO RECIPE!
Many of us who are cast iron cooks have read reams of advice about the proper way to season our cast iron pots and pans. To use soap or not when washing, which oils to choose, using a burner vs. the oven, whether or not to add salt—this is one of those topics that people have strong feelings about. I get it, because two of my cast iron skillets were handed down to me from my grandmother, who received them as a wedding gift in 1917. She spent decades perfecting their seasoning. Those skillets came to me in mint condition and they arrived with the stipulation that I maintain their perfection for all the years of my life and teach the next generation how to continue on in the same vein. No pressure or anything!
For the record, I don’t think there’s only one way to properly season cast iron. The very best way to maintain a pan’s seasoning is to cook in it regularly. Every time you cook with oils and fats, you are helping the seasoning of your pans. That said, it’s important to get your pans started on the right foot, especially if you have new cast iron or you’re trying to rehab one that's in bad shape. Following a simple practice to keep them well seasoned will make your years as a cook much better.
The key to success, for me at least, is that the process has to be easy, fast, and inexpensive; I don’t want to buy special ingredients and I don’t have all day to spend on my cast iron.
How to Season a Cast Iron Skillet: Day-to-Day Upkeep on the Stovetop
This process works well for seasoned cast iron and takes just a couple of minutes after cooking.
- When finished cooking—while your cast iron is still warm but not piping hot—rinse with hot water and use a brush or non-metal scraper to remove any stuck-on bits.
- If your pans have cooked-on food or places where oil has gotten too hot and left a tough film behind that you can’t get off with the above no-soap scrubbing, you can use salt and oil to scrub them clean. Add a few tablespoons of neutral-tasting cooking oil (don’t use something like toasted sesame oil) and a couple tablespoons of salt. Use a rag to scrub the pan with the salty oil to remove stubborn spots. Then thoroughly rinse with hot water and dry with a towel.
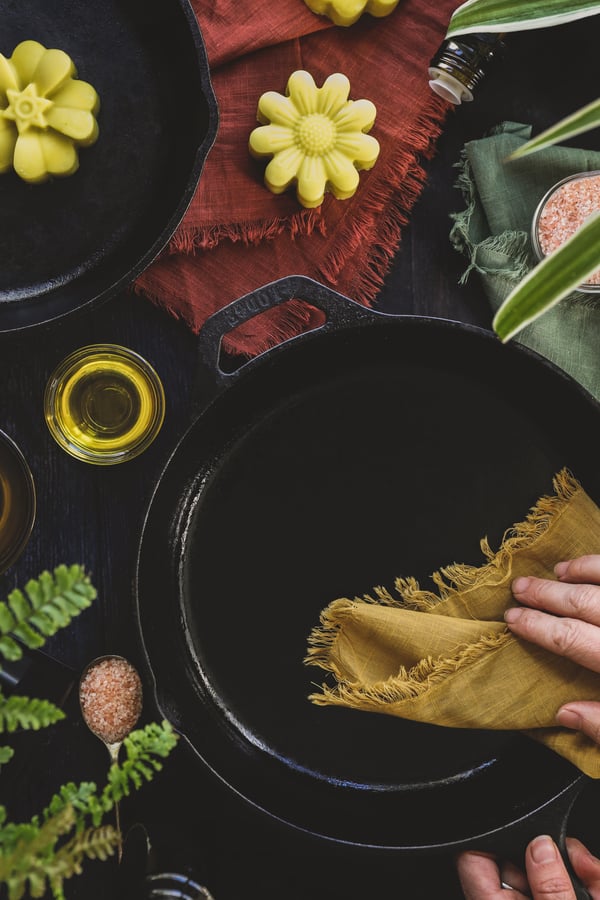
- Place the clean pan back on the stovetop over low heat or in the oven at about 200-225℉. When pan is warm (not hot), add a little bit of oil (as little as 1/2-1 teaspoon) and wipe it across the whole surface of the pan. It should make a very, very thin coating and not pool in any one place. When the inside of the pan is coated, take the pan off the heat and wipe thoroughly with a dry rag.
- Set aside to cool completely before storing.
“What about dish soap?” you might be asking. People are divided on using soap on cast iron. I was trained to only use soap as a last resort, so my pans have rarely come in contact with the stuff. If not using soap makes you uncomfortable, that’s fine. Just use it sparingly and don’t ever leave soap in the pan.
Best Oils to Season Cast Iron
As long as you are using the above method of oiling your pans directly after use—with warm, not hot pans and a very small amount of oil—you can honestly use any one of a whole variety of neutral-tasting, all-purpose cooking oils. The key is to make sure that the temperature of your pan is below the smoke point of that oil. You don’t need to get too exact, just don’t let your pan get too hot and be sure you wipe the pan thoroughly afterwards with a dry rag or kitchen towel to remove all the excess oil.
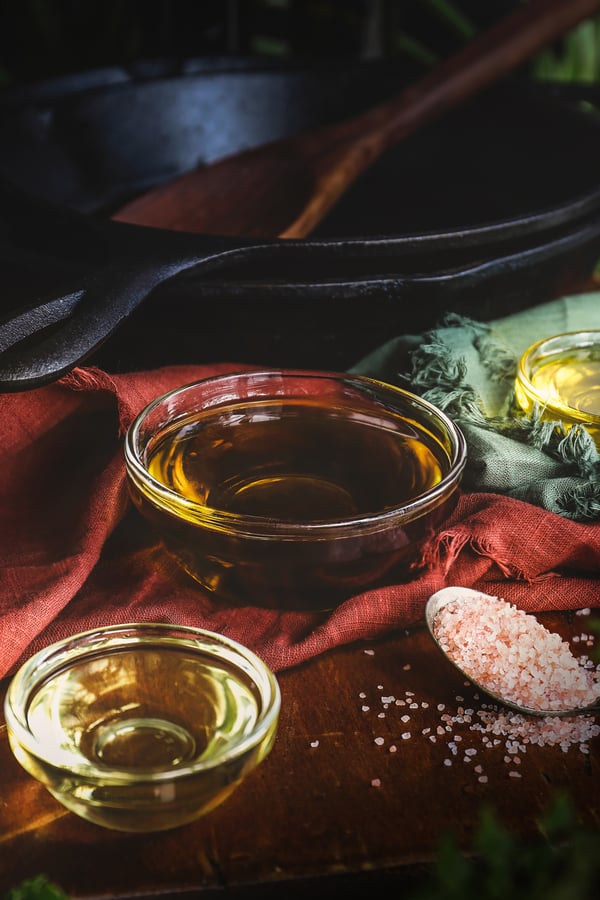
I find that high smoke point oils like grapeseed oil, safflower oil, refined avocado oil, almond oil, or sunflower oil are the easiest and most reliable, and since I always have at least one of those at my stove for cooking, they are easy choices for me. If you use canola oil, that works well too. That said, I have, in a pinch, used low smoke point oils like organic extra virgin olive oil and unrefined avocado oil with success and no rancidity. Some people like to use coconut oil; while I love coconut oil for all kinds of culinary adventures, I think its saturated fat content makes it a less perfect oil for seasoning cast iron, and it’s more expensive than other options.
You might be thinking, “Wait, I heard flaxseed oil is the gold-standard of oils for cast iron seasoning.” I’ve tried flaxseed oil, it worked well, but was not noticeably better than the other oils I use regularly, and it’s not something I keep around the house for other purposes, so it violates my personal “I don’t want to buy special ingredients” rule. If you have flaxseed oil around your house for daily use, definitely go ahead and use it on your pans. Just remember that flaxseed oil is a very low smoke point oil (about 225℉), so be extra careful that your pan doesn’t get too hot.
One quick note about rancidity: If you are using your cast iron frequently like I do, then there is pretty much zero risk of oils going rancid in your pans. If you use your pans infrequently and they are in storage for long periods of time, it will be more important for you to use a high smoke point oil, and potentially a beeswax conditioner (see recipe below), that isn’t likely to go rancid over time.
Deep-Season Cast Iron in the Oven: For New Pans and Ones That Need Extra Love
For new pans, including ones that are already foundry-seasoned when you purchase them, or for good, older pans that you’re working on bringing back to life, here’s my go-to seasoning method. What we’re doing here is putting down a base layer of seasoning that will be built upon as you cook and continue to season the pan. The oven is the ideal tool for this seasoning process.
- Preheat oven to 450℉.
- If this is a new pan or one you purchased used, be sure to thoroughly scrub it in warm, soapy water. (This is the only time you’ll ever hear me say that.)
- Dry the pan thoroughly, then put on the stovetop on low heat.
- When pan is completely dry and warm, add a little bit of high smoke point oil.
- Using a rag or dishcloth, wipe warm oil all over the pan, inside and out, including the handle and the bottom of the pan.
- With a dry part of the towel/rag wipe out ALL excess oil. There should not be any oil that might drip or run when you turn the pan over. You should have just barely a sheen on the pan. Then wipe it again for good measure.
- Put a piece of aluminum foil or a pan covered in parchment paper on the bottom rack of your preheated oven to catch any drips. If you’ve wiped down the pans thoroughly, you shouldn’t have any drips, but I’m not a fan of cleaning the oven, so I do this just in case.
- Place the warm cast iron upside down on the top rack of your oven over the foil or parchment.
- Bake for one hour.
- At this point, either turn the oven off and leave the pan to completely cool in the oven without opening the door—this allows the seasoning to cure and better adhere to the iron—or carefully pull out the hot pan, add a tiny bit more oil, use the rag or towel to wipe it around the cooking surface in that same super-thin layer and return it to the oven for another 45 minutes. Then turn the oven off and leave the pan to completely cool in the oven as above.
- For pans that are completely unseasoned or in serious need of intervention, you may need to repeat steps 3-10 multiple times. The common wisdom is it takes at least six coats of oil and baking to create a tough, nonstick base. Just remember that the pans must completely cool between seasoning sessions to cure and harden properly.
- For the first year after this deep seasoning of new or rehabbed pans, you should deep-season at least once every season (4 times a year) until you see the beautiful black-glass finish start to build up on the cooking surface. This is the magical nonstick surface of perfect cast iron seasoning.
Pro Tip
- If the surface of your pan is sticky instead of smooth and dry when it cools, you probably used too much oil. Put it on a burner on low heat and use a rag or kitchen towel to wipe it as clean as possible. Another round upside down in the oven may be in order.
DIY Beeswax Seasoning for Cast Iron
Another way to deeply condition and build a hard base on the cooking surface of cast iron is to use an oil/beeswax mixture. Seasoning with beeswax is particularly good if you don’t use your cast iron very often and it spends periods of time in storage or if you feel the need to use soap regularly on your pans. Beeswax hardens at room temperature, so it eliminates any problems with potential rancidity and it holds the oils on the pan’s surface over time. These DIY seasoning pucks will last a long time because you use only a tiny amount per pan. This is not for daily maintenance or for already well-seasoned pans.
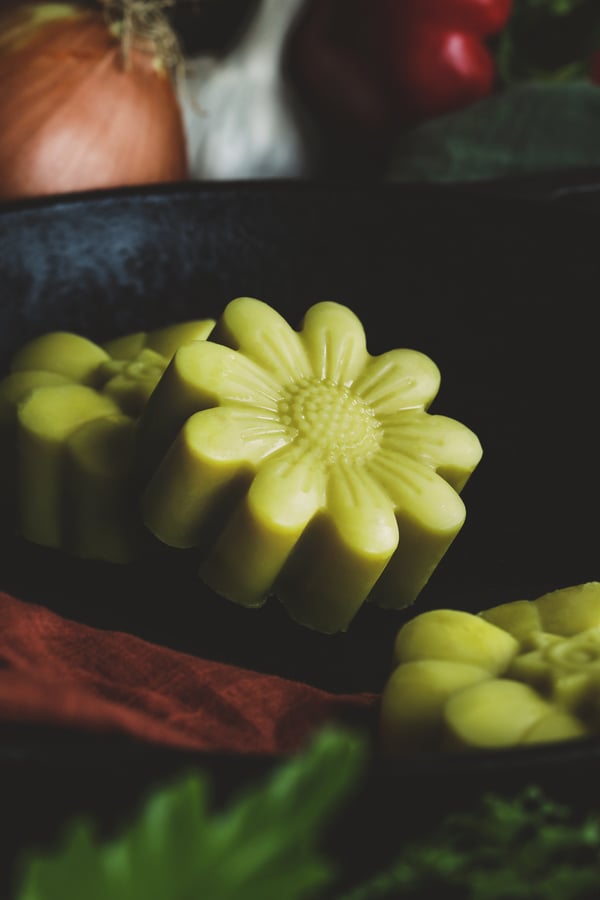
Cast Iron Conditioner Recipe
Makes about two 3 oz. pucks.
Ingredients
- 1/4 cup organic safflower oil
- 1/4 cup organic sunflower seed oil
- 1/4 cup beeswax pastilles or grated beeswax
Directions
- Add oils and beeswax to a double boiler over medium heat. Stir as necessary to combine.
- Leave on heat until ingredients are fully melted together.
- Remove from heat and pour into silicone molds.
- Allow to fully cool, then pop out of molds.
- Store in a clean, air-tight container until you are ready to use.
To Use
- Preheat oven to 450℉.
- Give your pan a quick rinse to wash away any dust.
- Place on stovetop and turn to low heat.
- Once completely dry and warm, touch the conditioner block to the pan, using as little as possible, so you have just a thin layer in middle. Really, use just a tiny bit.
- Use a rag or dishcloth to spread conditioner all over the pan, inside and out, including the handle and the bottom. Nothing should be able to drip when you turn the pan over and heat in the oven.
- Use a dry rag or cloth to thoroughly wipe off as much as possible.
- Put a piece of aluminum foil or parchment paper on the bottom rack of your preheated oven to catch any possible drips. Keep in mind it should not drip if you wiped it well enough.
- Place the warm cast iron upside down on the top rack of your oven.
- Bake for one hour, turn the oven off, and leave the pan to completely cool with the door closed
- You may need to repeat this process several times if your pan is in bad shape. If several sessions are needed, remember that pans must completely cool between seasoning sessions to cure and harden properly.
Want to learn another DIY solution for your favorite kitchen tools?
Learn to Make DIY Cutting Board Oil!
You may also enjoy:
- Sustainable Living at Home: 5 DIY Kitchen Swaps
- 8 Zero-Waste Alternatives for a Sustainable New Year
- 6 Natural Laundry Recipes