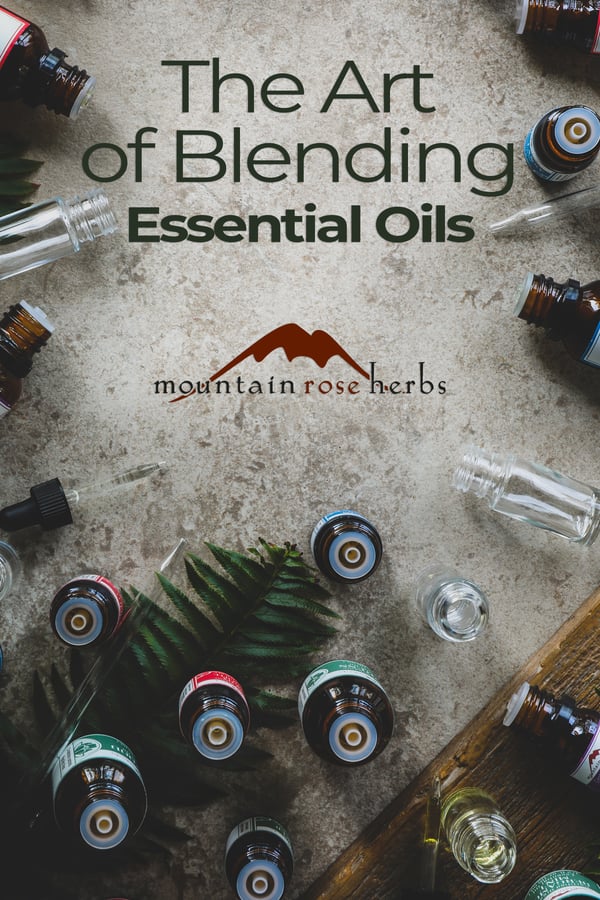
I am often asked questions about how to create essential oil blends, both in regard to how we develop new aroma combinations and how to consistently recreate old favorites to be perfect each time. Blending aromas is a rewarding and relaxing experience that can be done in minutes or can be stretched out for a luxurious day of crafting. Really you just follow your nose; there are no right or wrong oils to blend together. I have found that the satisfaction of creating personalized scent combinations are endless. I hope this beginner’s guide to essential oil blending inspires you!
Essential Oil Blending Tools
- Essential Oils: You'll need a nice selection of essential oils, including staple oils, top, middle, and base scent notes, and maybe some special treats like organic rose or organic helichrysum. Blends don't need to be overly complicated. Often, you'll find that a simple, well-proportioned mix of just two oils is enough to create a brand-new type of plant magic.
- Gloves: Keep in mind that you are working with potent, undiluted essential oils, so you'll want to avoid getting any on your hands.
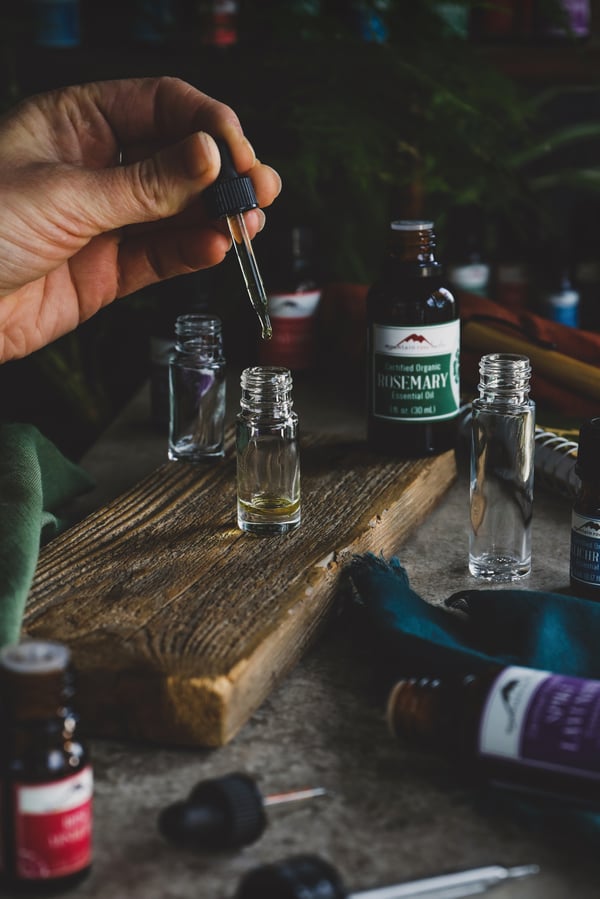
- Droppers, Pipettes, or Reducer Caps: Most essential oil bottles come equipped with a reducer cap, but if there aren't any available, keep some glass droppers or pipettes handy for controlled blending.
- Small Glass Storage or Blending Bottles: Glass bottles in sizes 1/24 oz., 1/8 oz., or 1/4 oz. work well for small batch blending, as the glass won't react with these volatile oils.
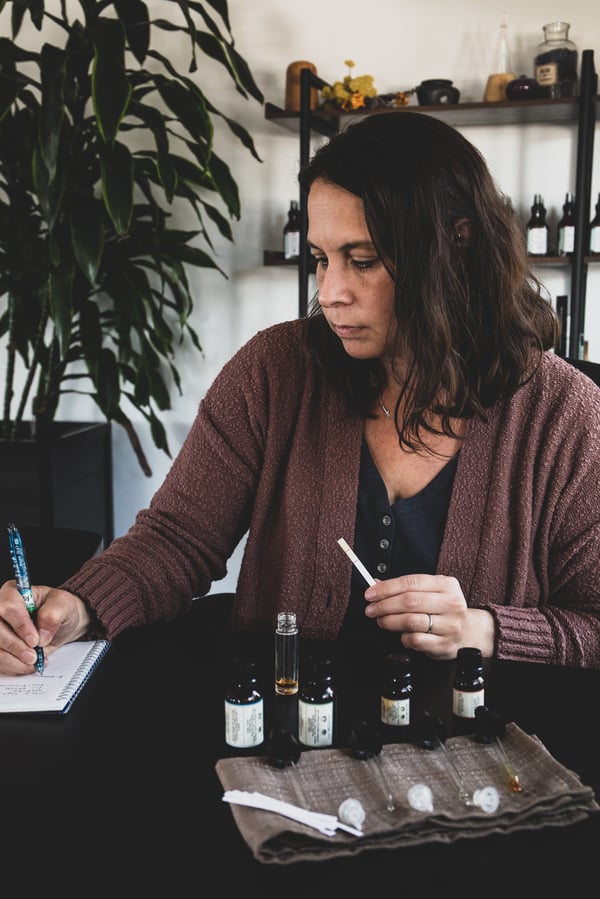
- Perfume Blotters or Cotton Balls: Smell and observe how your creations transform as they evaporate; different aroma notes will come to the fore in different stages as the blend diffuses into the air.
- Pen and Paper: Write down the amounts of each oil used. You don't want to spend all that time crafting your perfect new diffuser recipe, only to forget the proportion the next morning!
- Towels: Just in case!
- Your nose, of course!
Developing a New Essential Oil Blend: Start Small
When creating blends, only work with a small amount of oil at a time. Once you've found a combination you like, you can mix a larger batch later. Essential oils are precious, so you don't want to waste their herbal goodness by making a big batch right off the bat only to discover you dislike the result! I like to start by formulating with 10 drops. This amount is easy to work with and converts nicely for figuring percentages:
10 drops = 10 parts = 100% of the test blend
Be sure to count accurately while blending. Keep a written list of each oil and the amount you add. You'll want this information later to make a larger batch. I suggest writing all of the oils down before you start. This way, you only have to tally the drops for each oil while working.
For example, here's a formula I developed that's now one of my go-to blends:
- 4 drops/ 4 parts/ 40% organic lavender essential oil
- 4 drops/ 4 parts/ 40% organic clary sage essential oil
- 2 drops/ 2 parts/ 20% organic neroli / orange flower essential oil
Notice how this makes for an easy blend totaling 10 drops or 10 parts or 100%.
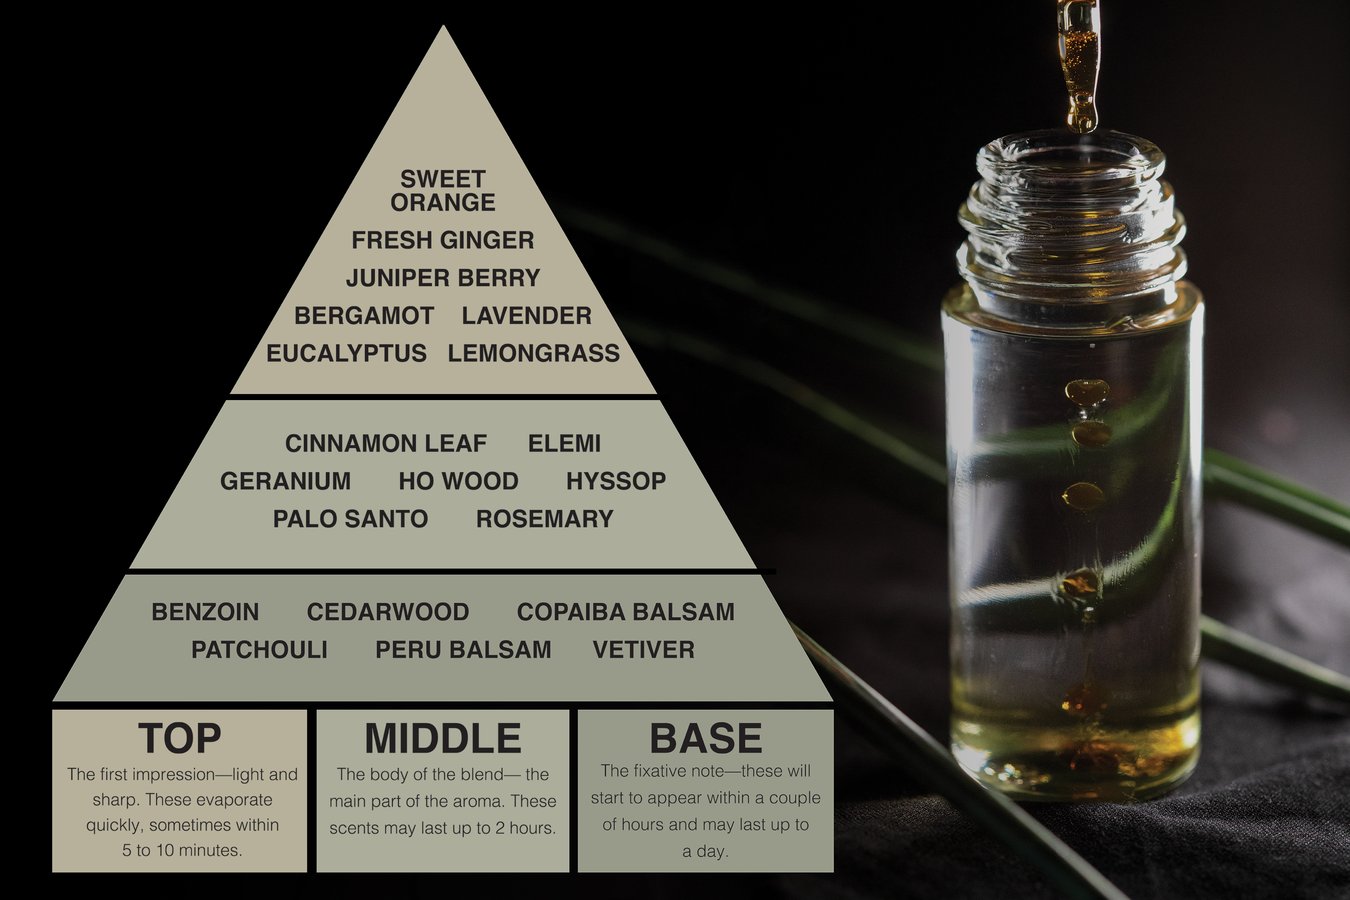
Be mindful of the different notes of each aroma as you blend. You will want to include top note oils, middle note oils, and base note oils. Trust me, it's worth taking the time to learn about fragrance notes, as it will help you create a more well-rounded scent "story." Your goal is to create a blend that you enjoy throughout all its stages of evaporation.
Getting Started with Fragrance Blending
I like to begin with the base notes. Add one to three drops to your blending vessel. These initial drops can include only one oil or a combination. Keep in mind that these base notes are the longest-lasting notes of a blend. Some base notes do not have much aroma, but they can still play an important role in helping to sustain top note oils longer. Others are very tenacious and potent, requiring only one drop for scent and fixative purposes.
Next, move on to adding middle note oils. I would suggest two to four drops of a single oil or combination. These oils are going to make up the body of your blend and should combine with the base notes to build your scent.
Finally, add your top note oils. These aromas help create the first impression of your blend. If mixed well with middle and base note oils, the ultimate blend should last longer than any single oil itself, creating a scent that you can enjoy as it unfolds.
From there, put some of your test blend on a perfume blotter or cotton ball and inhale to see how the aromas evaporate. This would be the time to add new oils or to boost an ingredient that may not be as prominent as you like. Retest the blend the following day to see if you want to make any more adjustments. Getting creative and tweaking recipes is the fun part of experimenting with scents, so grab some of your favorite essential oils and get blending!
READY TO START BLENDING?
Check Out Our Essential Oil Starter Kits!
You may also enjoy: