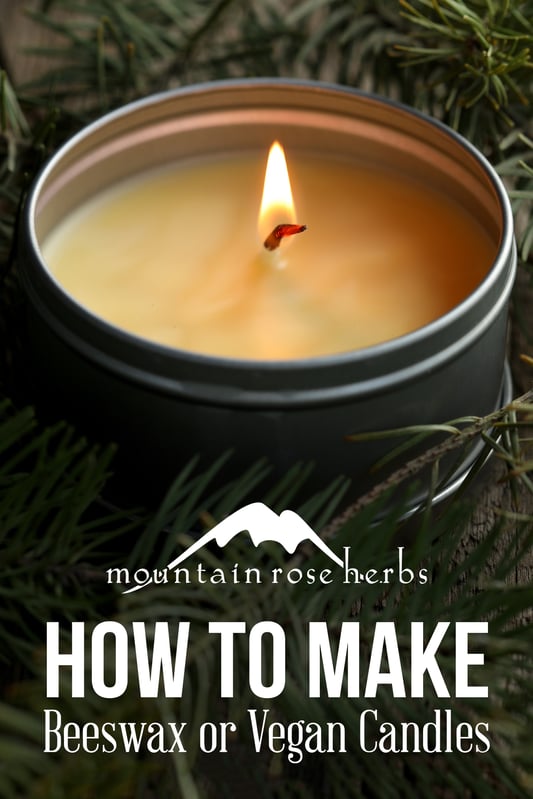
Natural wax candles are delightful accessories and tools for creating radiant spaces, especially as fall and winter bring chilly darkness to our days. These warm, flickering lights add natural ambiance and a calm, cozy feeling to any room. And while they serve a lovely mood-setting purpose in their own right, they can also be used to heat essential oils in a diffuser to fill a room with your favorite grounding fragrance, creating the perfect space for relaxing self care rituals.
Homemade candles are easy, fun, and affordable. Not only are they the perfect project for craft night, candles also make the sweetest holiday or birthday gifts for just about anyone. Plus, you can get really personal and creative with the containers, materials, and fragrances! While making candles is mostly just melt and pour, you can also formulate a blend of essential oils to create a special scent.
What Types of Wax Can You Use for Candle Making?
Beeswax candles
Beeswax candles are a favorite among many for the naturally sweet, honey-like smell they release. Beeswax also burns slowly, making it a great value, but you'll want to take this slow-burn factor into consideration when purchasing wicks and containers.
Beeswax alone will tend to cave in at the top as it solidifies due to the outside wax cooling faster than the wax near the wick. We recommend a mix that's roughly 75% beeswax and 25% organic coconut oil. Mixing the beeswax with coconut oil helps the candle solidify at a more even temperature and reduces the likelihood of center collapse, although it can still happen. For this reason, it's good practice to leave space at the top of your jar, as it allows you to cover up any caving in after the initial pour has cooled with a little more melted wax. If using 100% beeswax (sans high-quality vegetable oils) it's necessary to either buy wicks that are one size larger than otherwise recommended or purchase high-temperature wicks in the appropriate size range.
Vegan Candles
Soy candles are a popular option for those seeking natural wax candles that are free from animal derivatives. However, for those who prefer a firmer and soy-free vegan candle base, carnauba wax is an option. Carnauba wax is the hardest natural wax available. Because this wax is so hard and has such a high melting point, it is not a good idea to make a candle out of 100% carnauba wax.
We experimented with diluting the carnauba wax with coconut oil and found the best solution is a 50/50 combination. This will lower the overall melting temperature, making it easier to get an attractive and even-burning candle out of your hard work. Crafting with carnauba wax does require a bit of patience, as its melting temperature exceeds 180° F. As with pure beeswax candles, we recommend using wicks a size larger than usual or high temperature wicks on all carnauba-based candles (including the 50/50 blend recommended here).
Making Scented Candles with Essential Oils
From refreshing citrus or peppermint to floral geranium, naturally scented candles are a lovely way to incorporate personalized aromatherapy blends into your space. In order to successfully use essential oils to scent your homemade candles, you'll need to add a higher proportion of essential oil than you would for a typical body care recipe or even natural cleaning recipes. The amount you'll want to use is similar to what you'd find in soap recipes, since much of the essential oil dissipates when mixed into the hot wax. We recommend 1/2 ounce to 1 ounce of essential oil per 8 ounces of melted candle wax. We used roughly 200 drops of essential oil per 4 ounces of wax and found this to be a good ratio for strong aromas like lavender.
Containers and Wicks
You can use any container you like, but your container size will determine the wick size you'll need to use. We love these clear glass salve jars for candle making. The 1 oz. size will burn for about four or five hours. For bigger gifts, pantry jars with rubber seals are both lovely and functional, as the attached lids make it easy to remember to seal your candles when not in use to preserve their freshness throughout each one's long life.
You can find wicks in spools at your locally owned craft supply store. You'll need to use a sizing chart on the packaging (or consult your store's customer service for help) to find out which wick to use for your container size, since the wick size is determined by the diameter of the container. The ingredients may also influence your wick selection, as the 100% beeswax candles and vegan carnauba blend candles require specific wick lengths. Buying the wrong size wick could result in an uneven burn that will create a pit down the center of your candle, rather than burning from the top down evenly. Or, with the wrong size wick, your candle may burn out before making it through all of its precious wax.
How to Make Natural Wax Candles with Essential Oils
Supplies
- Metal pot with water
- Heat-safe glass measuring cup or metal double boiler insert twice the capacity of the wax you want to melt
- Candy thermometer (for watching flash points)
- Wick clips (optional)
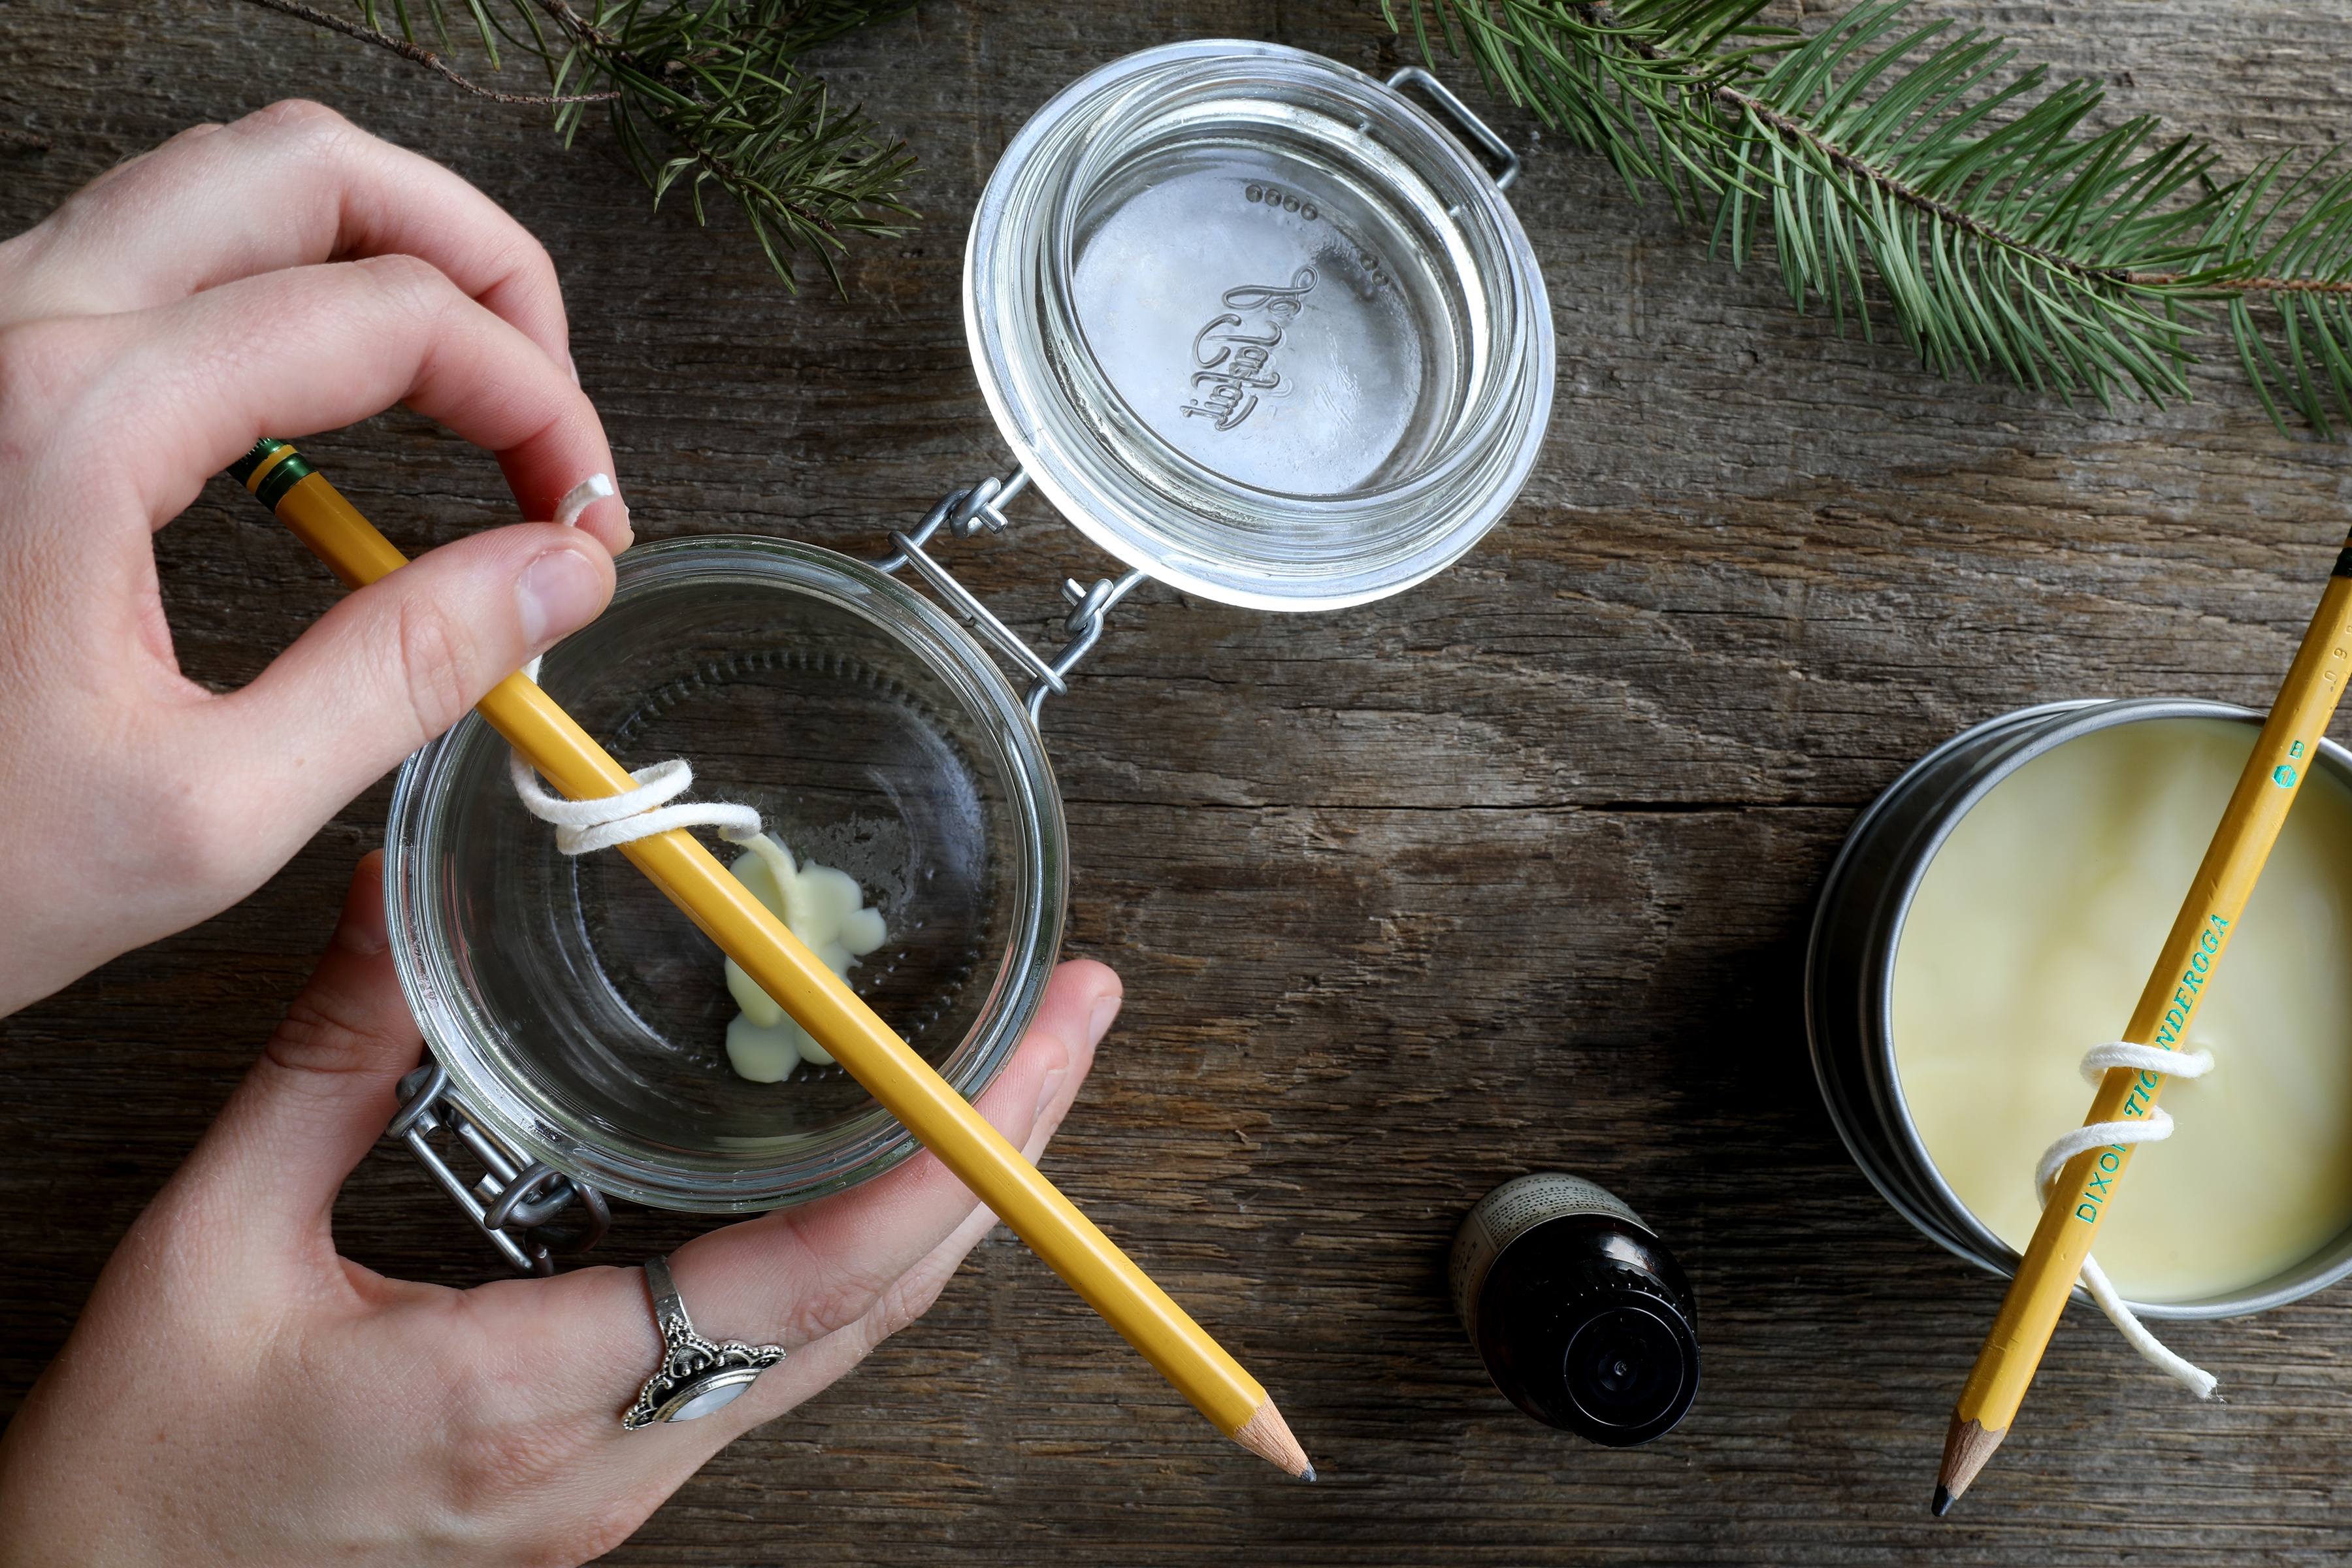
- Wick holders or pens/pencils for centering your wicks
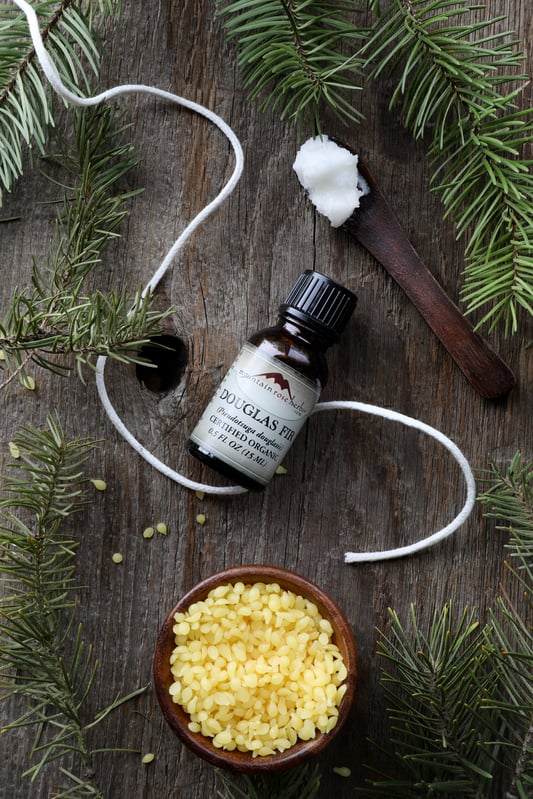
Ingredients
Directions
- Submerge metal double boiler insert or glass measuring cup in pan with water, bring water to a boil, and heat the wax/fat blend until just melted together.
- Insert a candy thermometer in the center of the mixture to monitor temperature. If you are working over an open flame, it's important to know the flashpoints for materials you are working with in order to avoid dangerous combustion! This is mostly a concern for beeswax, as its flashpoint of 200° F is the lowest of most of the materials with which you'll be working (and you can exceed it in a double boiler). Coconut oil, on the other hand, has a flashpoint near 350° F, and carnauba wax doesn't combust until about 570° F.
- For beeswax candles, once melted, dip a wick end into the melted wax (only works for beeswax) and place in the center of your container. Press into the bottom of the container (use a utensil for pressure if needed, not your bare fingers). The beeswax will solidify and hold your wick in place. This strategy unfortunately does not work for carnauba wax. You can secure the wick end with a piece of tape, or pour a bottom layer of wax to cover the wick end and allow to cool while you hold the wick in place.
- Next, suspend the wick in the middle of the container by wrapping the excess length of wick around a pencil or skewer and balancing that horizontally across the jar opening.
- Add essential oils while the melted wax blend is still on the heat source, right before you pour into your candle containers. Do one quick stir after all essential oils have been added, but do not continue to heat.
- Pour wax into containers, leaving roughly 1/2 inch of room at the top.
- Leave boiler insert or measuring cup in the heated water while your candles solidify.
- Once they appear to be solid (this can take 30 to 60 minutes), you may notice that some candles have caved in slightly on the top. You can now top them off with the remaining wax, leaving 1/4 inch of room at the top.
- Once completely cooled (overnight is great to be safe), remove wick holders and snip wicks to 1/2 inch.
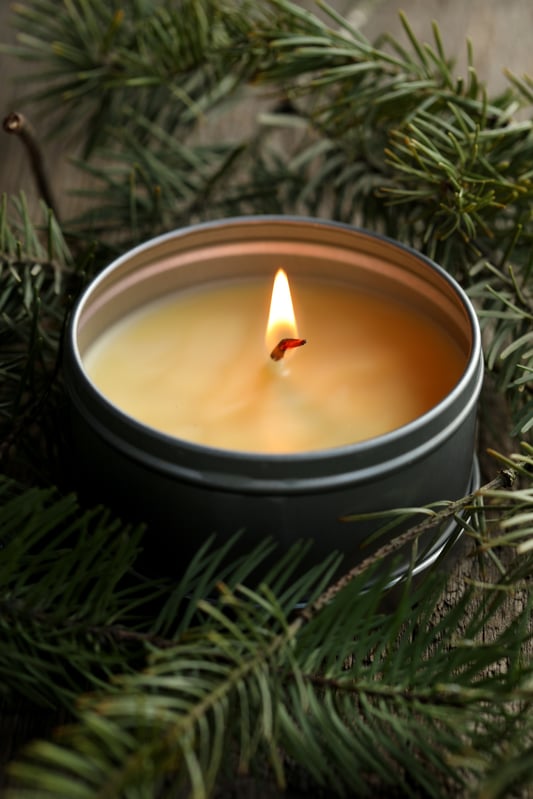
- Light and enjoy!
Pro Tip
- For easy clean up, cover a pan with aluminum foil or wax paper and place on the bottom rack of your oven. Put that wax-coated glass jar or metal boiler insert upside down on the top rack. Turn oven on to 180° F and allow to sit for an hour or so. All of the wax will melt down onto your pan, mess free! This is also a good method for prepping your used candle containers for reuse once you've burned them through and are ready to make more!
Want More beeswax craft ideas?
Learn How To Make Your Own Beeswax Wraps
You may also be interested in: