Candlelight is good anytime, but during the winter holidays, it’s part of human traditions that date back thousands of years. This year, as the cost of everything, including candles, has skyrocketed, it makes more sense than ever to make our own. I’ve made candles for fun over the years, including holiday candles, but I’m definitely not a candle-making artisan. Fortunately, we don’t have to be experts to produce simple, lovely poured candles. Making our own gives us the freedom to customize the scent with pure essential oils. Candle making is also a wonderful activity with kids, so the winter school holidays are a great time to pull out the wicks, wax, and your favorite upcycled jars. Developing some old-fashioned skills like this one means inflation doesn’t have to put a damper on what you love most this time of year: traditions and family.
How to Make Homemade Candles
If you’ve never made candles or you need a refresher, here is a good blog to read before you jump in: How to Make Your Own Candles with Natural Wax.
Gather up your candle-making supplies in advance and make sure everything is clean:
- Metal pot to serve as double boiler base
- Double boiler insert or heat-safe glass measuring cup that is twice the capacity of the wax you want to melt
- Candy or instant-read thermometer (for watching flash points)
- 7-8 oz. jar or tin (this is an excellent use for upcycled jars). You can use larger containers and scale up the recipe below
- Wicks—you must use the sizing chart on the wick packaging to find out which wick to use for your container size; the wick size is determined by the diameter of the container
- Wick clips (optional)
- Wick holders or pens/pencils for centering your wicks if using traditional wicks
DIY Candle Making
Makes one 7-8 oz. candle.
Ingredients
- Organic beeswax pastilles, grated beeswax, or carnauba wax (see below)
- Organic, refined coconut oil or organic babassu oil (see below)
- Approximately 2 tsp. organic essential oils of choice (200 drops)
Proportions & Quantities
- If using beeswax, aim for about 75% beeswax and 25% coconut oil. I used approximately 3 1/2 oz. by weight (a slightly heavy 3/4 cup) of beeswax pastilles and 1/4 cup coconut oil to make enough melted wax/fat for one 7-8 oz. jar.
- If using carnauba wax, you’ll want 50% wax and 50% coconut oil and enough to fill jar.
Directions
- Pour water into double boiler base and put metal double boiler insert or glass measuring cup in. Bring water to a simmer.
- Add beeswax or carnauba wax and coconut oil to the double boiler insert. Heat the wax/fat blend until just melted together.
- Insert a candy or instant-read thermometer in the center of the mixture to monitor temperature. If you are working over an open flame, it's important to know the flashpoints in order to avoid dangerous combustion, particularly for beeswax. The flashpoint for beeswax is 200° F, coconut oil has a flashpoint near 350° F, and carnauba wax doesn't combust until about 570° F.
- For beeswax candles, once melted, dip a wick end into the melted wax (this only works for beeswax) and place in the center of your jar or tin. Press to the bottom of the container (use a utensil for pressure if needed). The beeswax will solidify and hold your wick in place. For carnauba candles, secure the wick end with a piece of tape or pour a bottom layer of wax to cover the wick end and allow it to cool while you hold the wick in place.
- Center and suspend the wick in the middle of the container by wrapping the excess length of wick around a pencil or skewer and balancing that horizontally across the jar opening.
- While the wax/fat blend is melting, pre-mix your essential oils.
- While the melted wax blend is still on the heat source, right before you pour into your candle containers, add the mixed essential oil blend. Stir in quickly and thoroughly.
- Pour wax into containers, leaving roughly 1/2 inch of room at the top.
- Set aside to solidify.
- Once the wax appears to be solid (this can take 30 to 60 minutes), you may notice that some candles have caved in slightly on the top. You can reheat any extra wax/oil mixture and top them off, leaving 1/4 inch of room at the top.
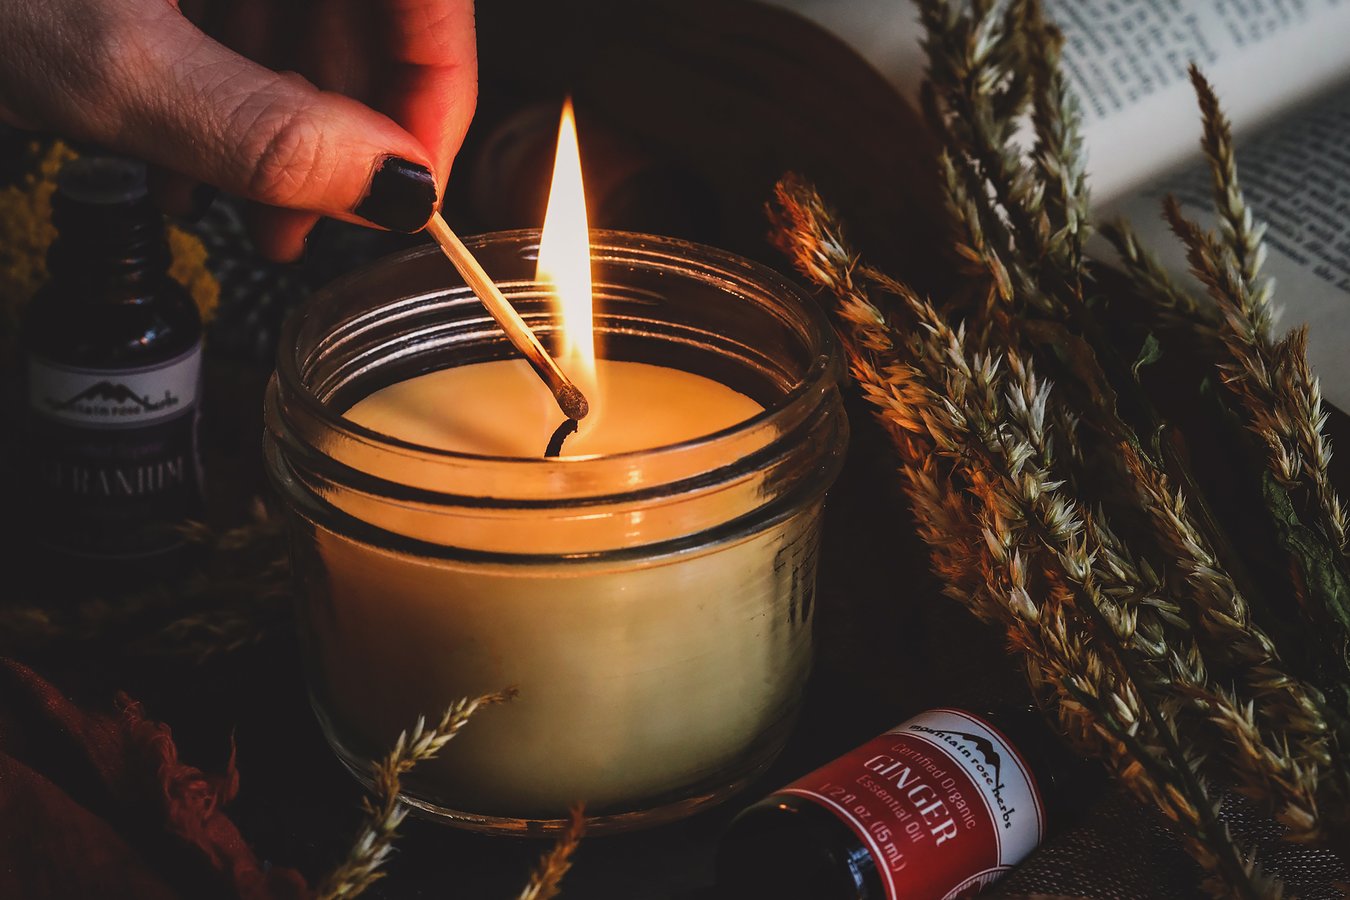
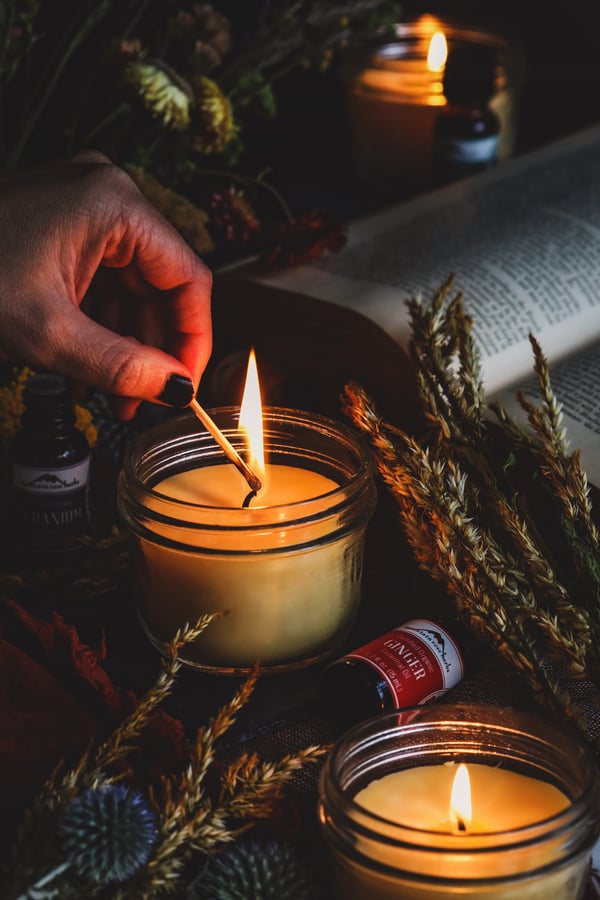
- Once completely cooled (overnight is good), remove wick holders and snip wicks to 1/2 inch.
- Light and enjoy!
Pro Tips
- Using a bent paperclip to secure the wick to the pencil ahead of time helps to keep the wick centered.
- To clean up, cover a pan with aluminum foil or wax paper and place on the bottom rack of your oven. Put wax-coated glass jars or the metal boiler insert upside down on the top rack. Turn oven on to 180° F and allow to sit for an hour or so. All of the wax will melt down onto your pan, mess-free! This is also a good method for prepping your used candle containers for reuse once you've burned them through and are ready to make more!
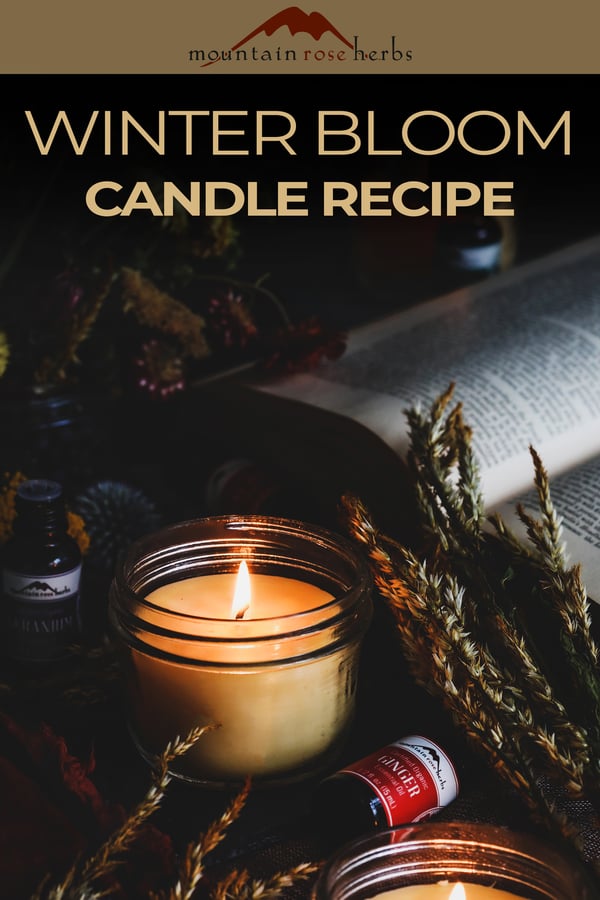
Holiday Candles: Winter Bloom Essential Oil Recipe
Makes 2 tsp., enough for one 7-8 oz. candle.
Ingredients
- 1/4 tsp. (25 drops) organic Douglas fir essential oil
- 1/4 tsp. (25 drops) organic lemon essential oil
- 1/2 tsp. (50 drops) organic ginger essential oil
- 1/2 tsp. (50 drops) organic geranium essential oil
- 1/2 tsp. (50 drops) organic clove bud essential oil
Directions
- Follow DIY candle-making directions above.
Other Winter Essential Oil Blends You May Enjoy in Candle Making
By using the age-old method of measuring in parts, you can scale the following essential oil blends to get 2 tsp. for one 7-8 oz. candle. If you need a reminder about measuring in parts, here you go The Folk Herbal Art of Measuring in Parts.
Want Other Ways to Bring the Aromas of the Holiday Inside?
Try This Winter Bloom Essential Oil Blend in Potpourri!
You may also enjoy:
- Holiday-Inspired Orange Body Care Recipes
- Goji Berry Holiday Cocktail Recipe with Rum
- Maqui Berry Mocktails for the Holidays