Featured Article
The 2022 Video Contest
In 2009, we hosted our first video contest and with the growing interest in short-form video, we thought that 2022 would be the perfect time to bring it back! We want to see your creativity and love for a natural and sustainable lifestyle. One winner will be chosen to recieve $3000!

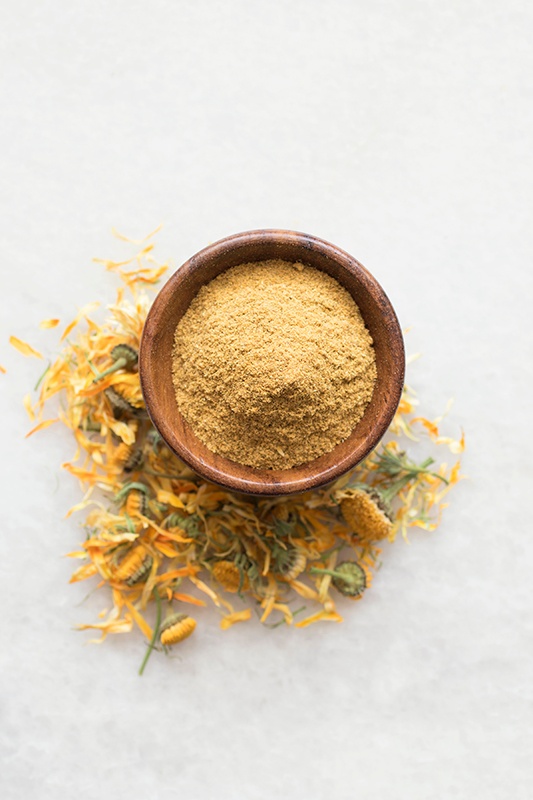
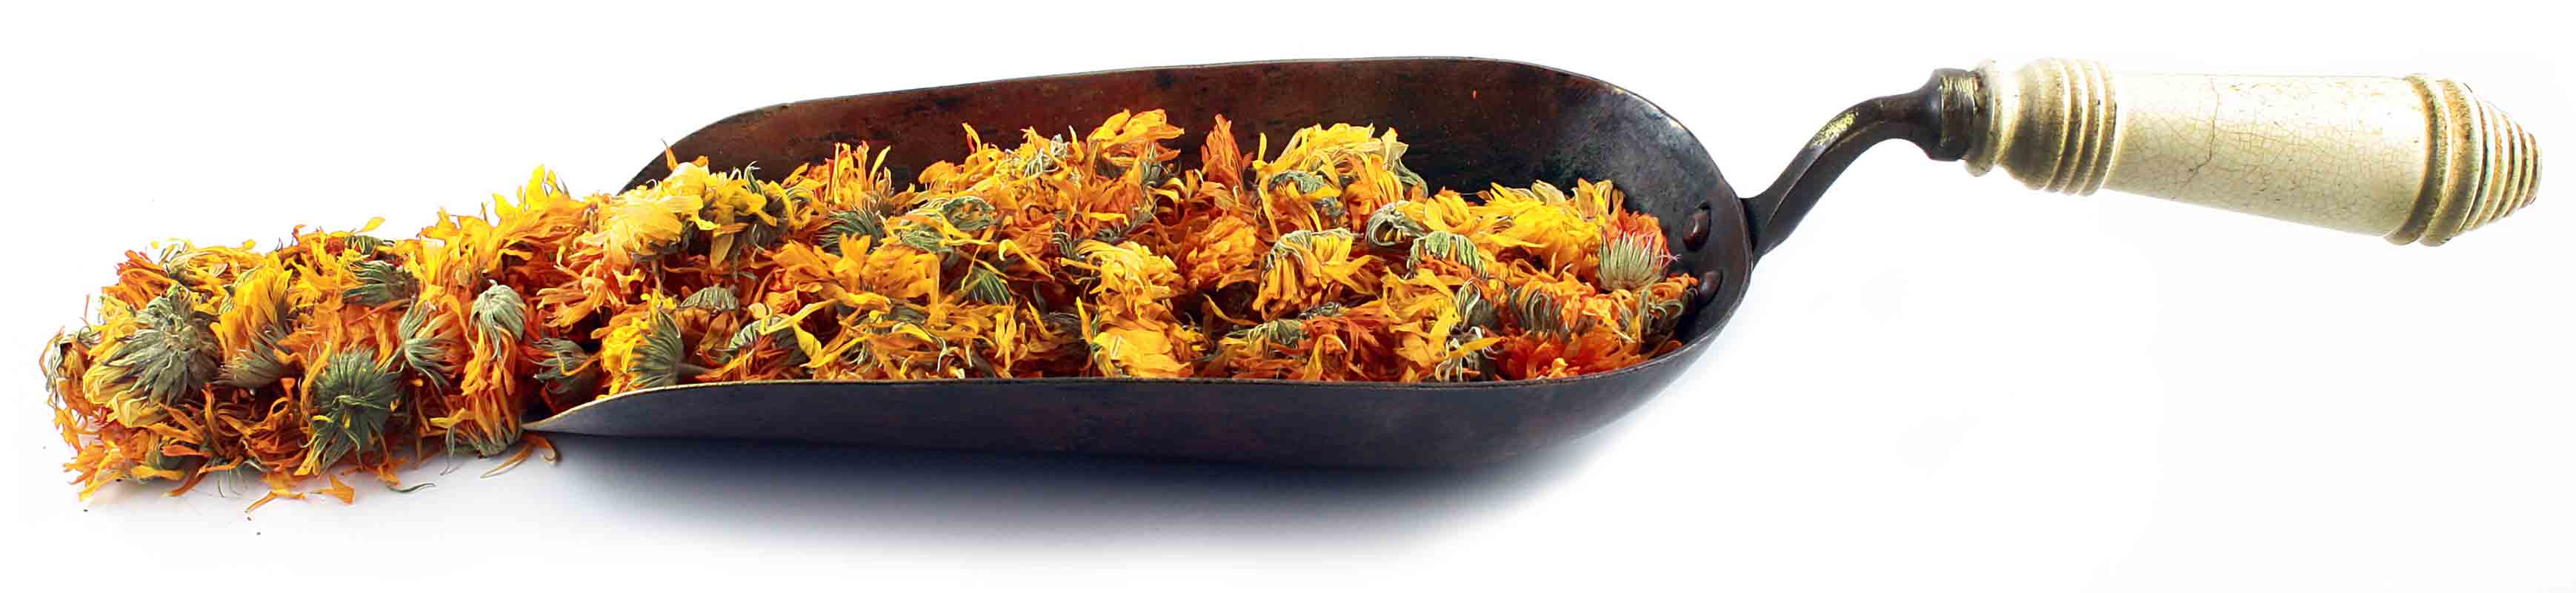
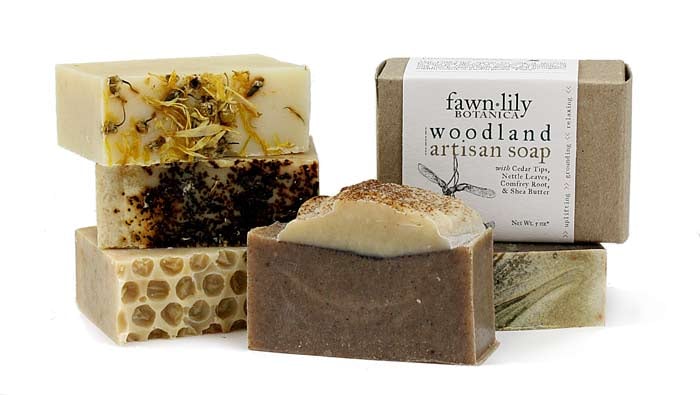 Soap can be made with a variety of vegetable or animal oils, essential oils, herbs and spices, and many liquids including goat milk, coconut milk, coffee, and even beer. Soap making is an obsession waiting to happen, and with all of the options, you’ll never tire of dreaming up new combinations. Handmade soap makes a wonderful gift for friends, co-workers, and loved ones. They will be thrilled to receive your wonderful creations, so feel free to soap away to your heart’s content!