How to Harvest, Dry, & Store Herbs From the Garden

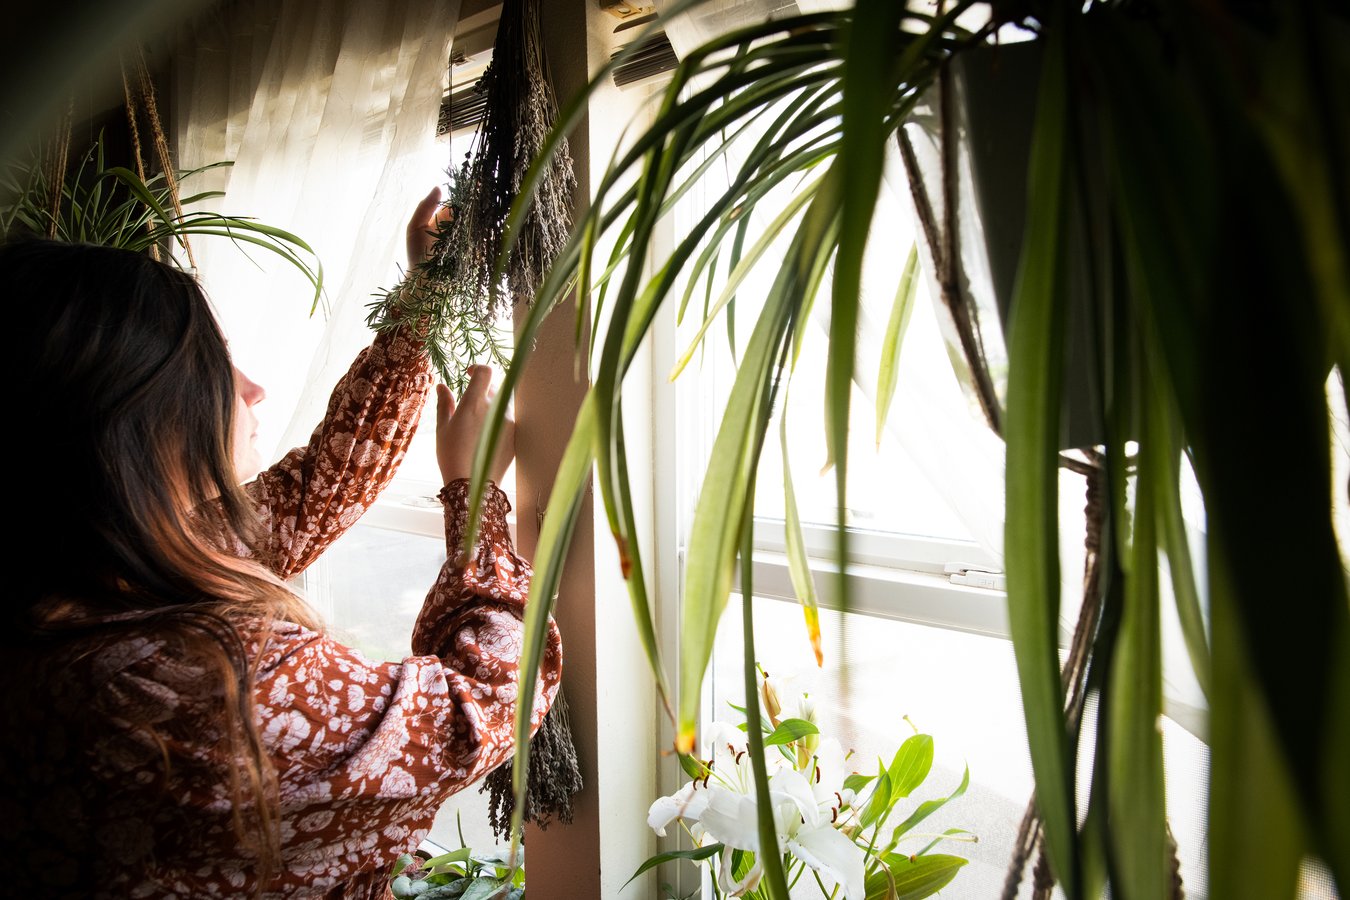
Hanging fresh herbs to dry.

Whether you have acreage for a big herb garden or, like me, you’re trying to get as many herbs as you can in your small space—using patio pots, and windowsills, and waging war on every spot of lawn grass that you can eradicate—preserving our mid-summer herbal harvest is a deeply satisfying way to carry the magic of life-giving summer into the cold winter months. Drying our own herbs is remarkably simple and doesn’t require expensive special equipment—just some rubber bands and a piece of screen or a drying basket. If you’re ready to harvest your own herbs, here are a few pointers on drying and storing your bounty.

Harvesting: A Quick Introduction

Different herbs appreciate different harvesting methods and if you’re not sure, having a good herb growing reference is helpful. I’m currently a big fan of The Healing Garden by Juliet Blankespoor; this book is beautiful, incredibly approachable, and very comprehensive. I also recommend your local library, nursery or garden store, and of course there is a wealth of information that is just one quick online search away. That said, you don’t need extensive knowledge to get started and there are a lot of generalities we can talk about. Starting with this: be sure to handle fresh plant material gently so as not to bruise it.

How to Harvest Leaves and Flowers

To harvest the aboveground parts of herbs, you’ll need a basic pair of kitchen or garden scissors for delicate botanicals like mint, dandelion leaves, sage, cleavers, etc. If you’re working with woody or thicker stems, you may want to bring along a good pair of pruners. Generally, you want to harvest in the spring or early summer, and choose strong stems with healthy, intact leaves. If using more than flowers, cut close to the base of the stems, leaving some foliage so you can potentially get another harvest or even two. Harvest leaves and flowers in the morning after the dew has evaporated.

How to Harvest Roots

In the fall, plants go dormant and store their energy—including their supportive constituents—in their roots to prepare for winter. So, to get the most of roots, we want to harvest them in the late fall or early spring when the ground thaws: when there is enough plant material for us to identify the herb, but they haven’t yet started pushing their energy into new growth. You’ll need a digging fork or shovel to carefully dig around the plant and to loosen the soil so you can get down to the roots. It’s important not to harvest the entire root system, so the plant has plenty left to re-grow. Also, I try to give my plants a year or two off before harvesting again.

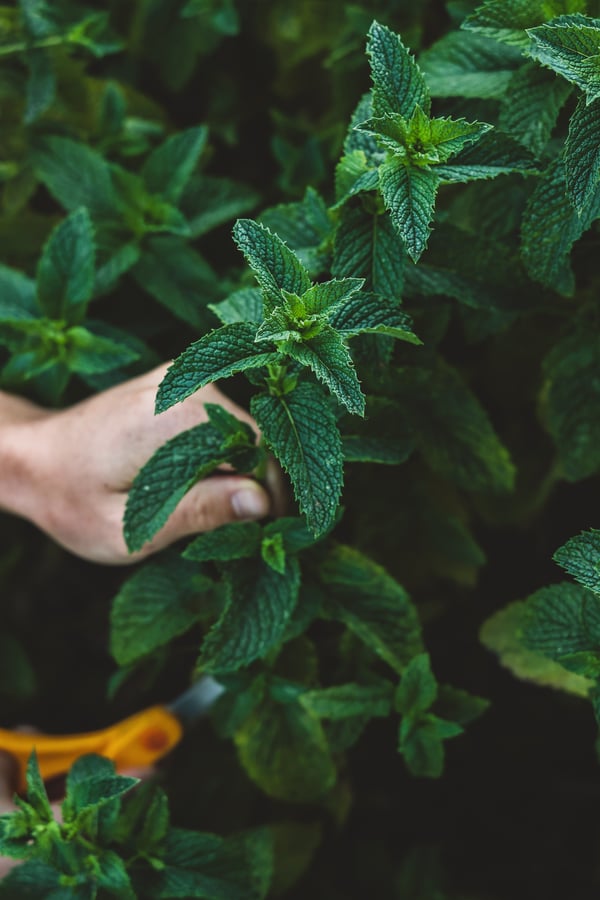
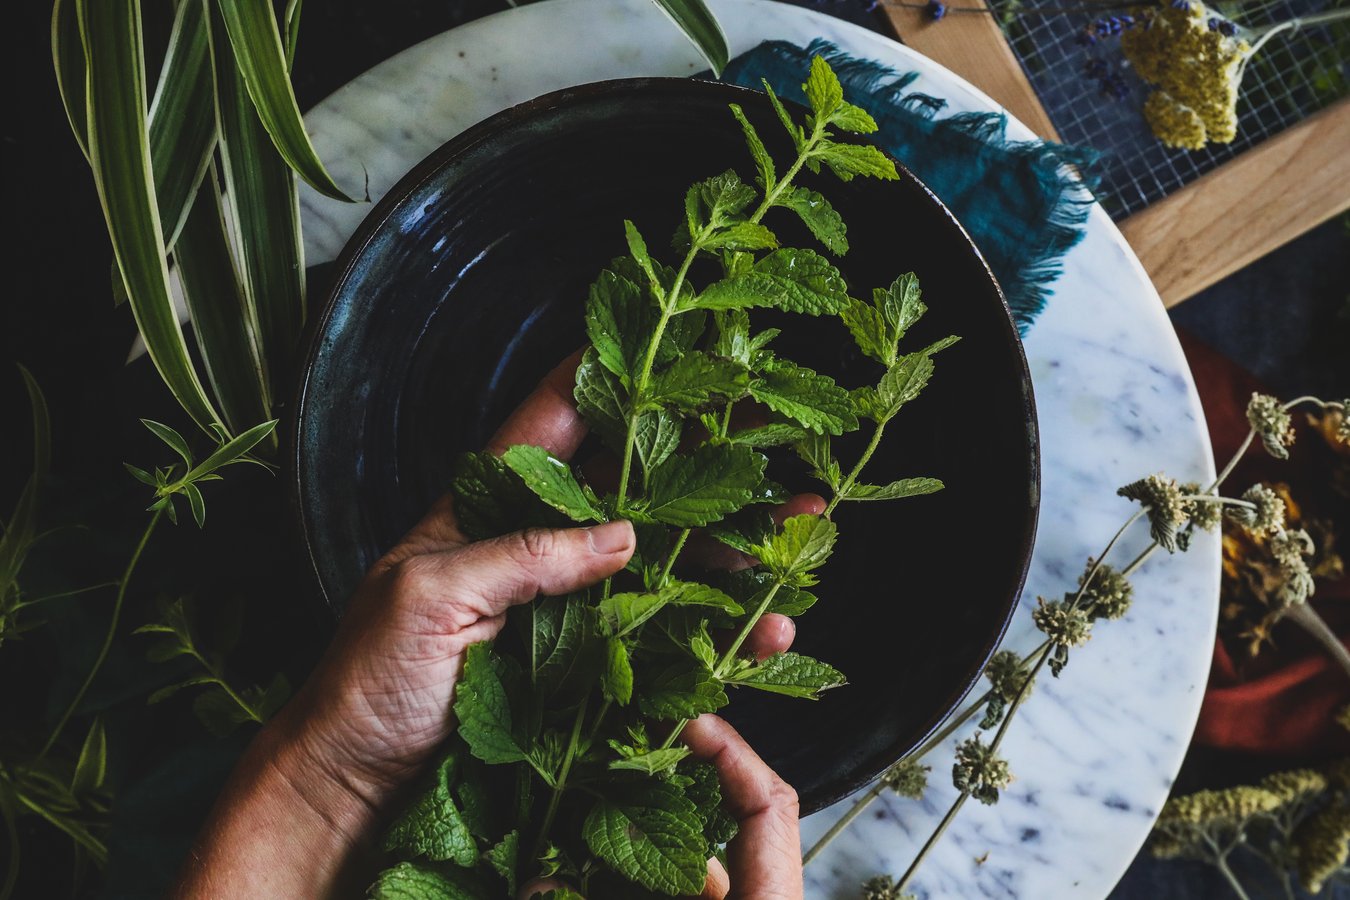
Hand showing sprig of mint.

Preparing Your Harvest for Drying

It is important that you process your harvested botanicals for drying as soon as possible. Shoving a bunch of harvested plant material together into a bag or leaving them out in the sun to deal with later will damage the plants and actually start the composting process. If you are transporting herbal material, lay it in thin, covered layers. Paper bags or kitchen towels can work well for this, but you'll want to avoid plastic bags as they can create heat and trap moisture. 

Leaves and Flowers: If you are working with organic herbs and you don’t have dogs like mine running all over your yard kicking up dust, you may not need to wash your cuttings. Give your harvest a gentle shake to notify insects it’s time to crawl away and then lay your harvest in a thin single or double layer on a clean surface. You will want to get them in the shade as soon as possible. Now you can “garble” your botanicals—pick out anything that is wilted, diseased, or has spots or insect damage. If you do not have a pristine, organic herb garden, you may need to gently wash the herbs in cool water to remove dirt or clinging insects. Gently shake off excess moisture.

Roots: You’ll want to clean your harvested roots as soon as possible. If they are relatively straight, you can put them in water and use a scrub brush to scrub away the dirt. Be completely over-the-top about this because any dirt remaining on your roots will end up in your formulations. If the roots are twisted or wound around each other, use a pair of pruners to cut them into smaller pieces so you can get them really clean. One of the reasons to do this as soon as possible after harvest is that the roots become increasingly difficult to chop as they dry. When your roots are very clean, chop or cut them into small pieces.

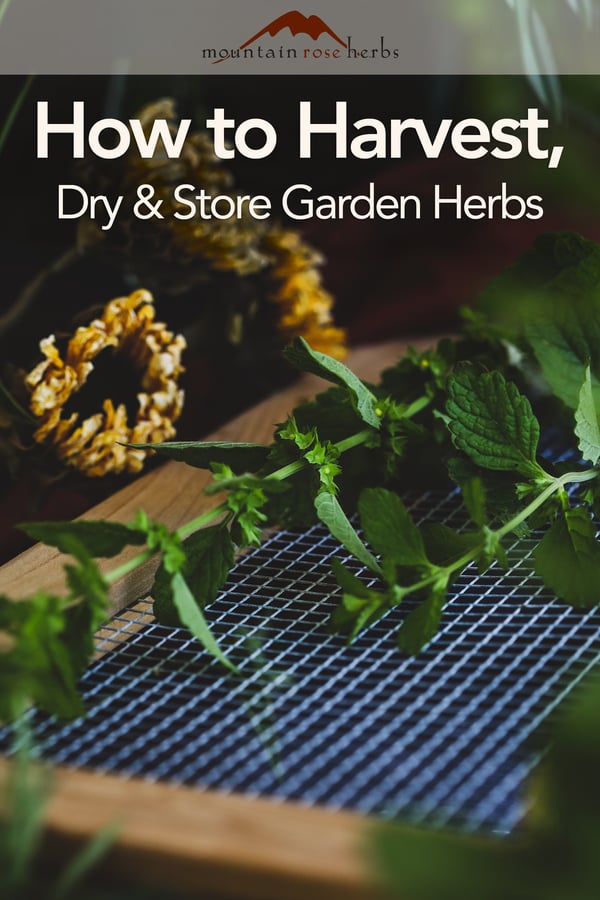
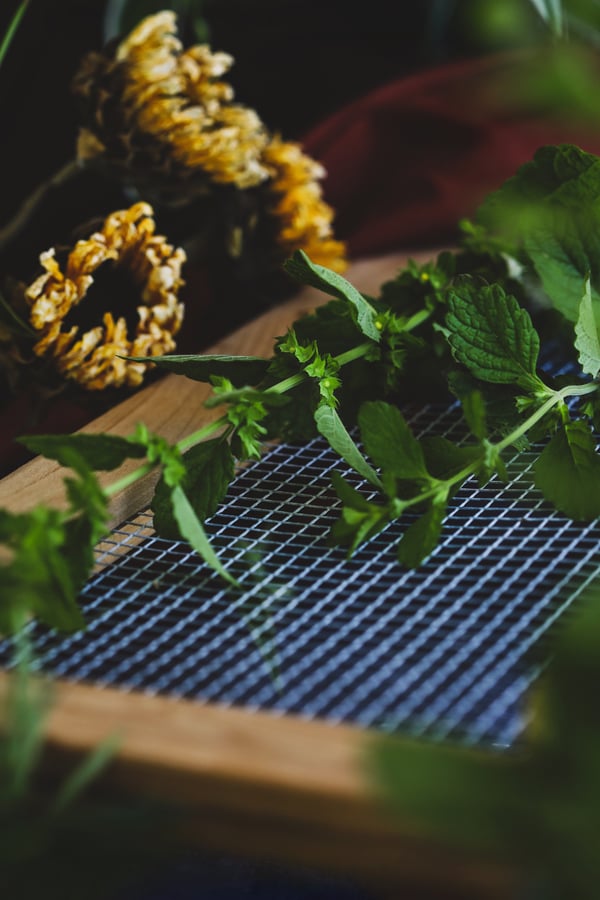
Drying fresh mint on a screen.

How to Dry Fresh Herbs

There are two keys to success when drying herbs so they don’t mildew: they need a warm area with good airflow. Note here the word “warm”; too much heat will roast your plant material (which makes it lose color and potency) instead of nicely drying it, so you don’t want to put herbs in a window that gets direct sun. You can open a window or add a fan in the room to create airflow if necessary, but make sure it’s not blowing directly on them so much as flowing around the room.

Bundling Herbs for Air Drying: One of the easiest ways to dry long-stemmed botanicals (lavender, rosemary, etc.) is the time-tested method of bundling the stems and hanging them upside down. I had always done this with a piece of twine and inevitably, as the stems dried and shrank, pieces would slip out and drop. Happily, Juliet Blankespoor, of the Chestnut School of Herbal Medicine, taught me to use rubber bands instead; this was a total game-changer because as the stems shrink, so does the rubber band—voilà, no dropped stems! I also learned from her that it helps to dry in fairly small bundles—approximately 10 stems, and less if you’re drying dense plant material—that you then divide in half so that the center of the bundle dries evenly. So, take your little bundle of stems and divide it in two. With the flowers hanging upside down, make a wrap with the rubber band around this half of the stems closer to the ends of the stems than the flowers. Now add the second half and wrap the entire bundle until the rubber band is almost used up. Loop the last bit over several stems to hold it in place. The handy thing about this method is you can now split open the bundle and set it on a string, rod, or hook so that the stems and flowers hang down on both sides. So simple!

If you are drying herbs for the seeds (fennel, dill, etc.), you can slip a small paper bag over the dangling flowerhead and secure it in place with twine or a rubber band. Then the seeds drop into the bag as the botanical dries.

Washing fresh herbs to be dried.

Using Screens for Air Drying: Remembering that airflow is key to drying plant material, you will need a screen or loosely woven basket for herbs that cannot be bundled: flowers, small leaves, roots, bark, etc. You can find commercial drying racks for a reasonable price, but I found and upcycled a nylon window-screen that was still in its lightweight frame, and my friend who is handy with tools built her own with caning from an old chair and scrap-wood. I’ve also successfully used a fine-mesh sieve when I have smaller quantities of herbal bits and pieces. Lay the plant material in a single layer without overlapping on the screen or basket and set it up in the house out of the way where it will get warmth and air from all sides. Once a day or so, gently shuffle the drying herbs around so all sides are exposed to the drying air.

Using a Dehydrator for Drying: A basic home dehydrator that works well on the lowest heat setting can be a wonderful way to dry herbs if you keep a close eye on it. I particularly like my dehydrator for roots and barks. Follow the directions on your dehydrator for the lowest setting and check the herbs often so you don’t let them go too far. They can dry in as little as a couple hours or may take longer, so don’t plan to set it and forget it. And don’t give in to the temptation to hurry the process by cranking the heat; that is a good way to end up with overly dried herbs that have diminished potency, color, and flavor.

How to Dry Herbs in the Oven—In general, I don’t recommend this. It’s do-able, but it’s just so easy to destroy all the goodness in your herbs by trying to rush the drying process. You need an oven with a pilot light or the ability to hold a very low temperature; think sunny-day temperature, not cooking temperature. To get the necessary airflow, you need to crack open the door and if you have convection, that can help to get the air moving as well so long as you don’t have tiny leaves that will blow all over the place. Botanicals should be placed on cooling racks and then put on the oven rack rather than on a pan, for that all-important air circulation. Also, I suggest putting a sign on the stove if you live with other people who might turn the oven on without thinking. Something like DON’T ROAST MY HERBS!

Plan to store herbs as soon as they are dried. They lose vitality if left out for too long after they are dry, and you don’t want them to get dusty.
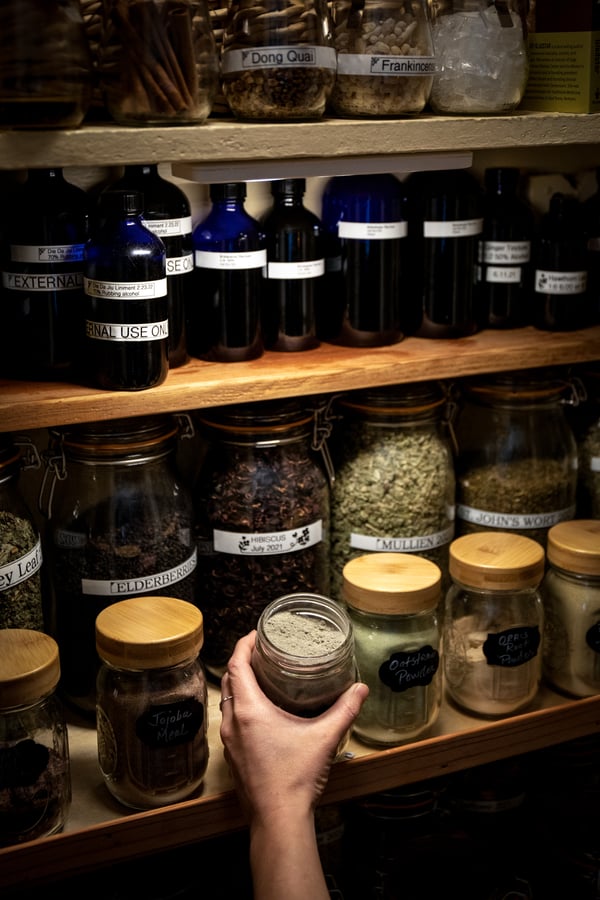
 Drying Herbs - Storage

Best Way to Store Dried Herbs

Your herbs must be thoroughly dried before you prepare them for storage. Any remaining moisture can create mold growth in stored herbs. For leaves and flowers, rub between your fingers. If it bends or doesn’t feel dry and “crisp,” then let it dry a little longer. When properly dried, leaves will often crumble when rubbed. For roots and barks, if they are brown, shriveled, and feel dry, cut several pieces to make sure they are dry all the way through. If so, they are ready for storage.

When your herbs are thoroughly dry, they are ready to be prepared for storage. Plan to store your dried herbs in well-sealed glass jars in a dark cool area. A closet, a cabinet, the basement, or even in boxes under your bed are all viable options. I keep the bulk of my herbs in my apothecary or my basement, and bring up smaller quantities for daily use at the stove. Also, remember to label your jars with the name of the herb and the date it went into the jar.

Small Leaves, Flowers, and Chopped Roots and Barks—These herbs are generally dried on screens or baskets and can go into a jar as-is. You can break them down a little before storing if necessary to make them fit, but otherwise they will stay fresher longer if you leave them in their whole state. The exception to this is if you are making a batch of a culinary herb. In this case you can break up the plant material into finer pieces and pick out stems and other hard bits so you have a lovely herb ready to be used in your finest dishes.

Flowers and Herbs with Stems—You need to strip the leaves, flowers, berries, needles, etc. from the stems. You don’t have to be as gentle here as you did when the herbs were fresh. Remove any discolored leaves, twigs, etc. Store herbs whole or broken down.

When properly dried and stored, leaves and flowers are shelf stable for 1-2 years and roots and barks can last 2-3 years.


Want to Improve your gardening plan?

Learn About the Benefits of Companion Planting with Herbs


You may also enjoy:


Topics: Herbalism, Green Living

Heidi

Written by Heidi on July 18, 2022

Heidi is an award winning freelance writer with a passion for urban homesteading. She has been honored to receive a number of literary prizes including the esteemed Pushcart Prize and an Individual Artists Award in Creative Writing from the Oregon Arts Commission and the National Endowment for the Arts. She is proud to have earned a certificate of completion for the Herbal Medicine Making Course at the Chestnut School of Herbal Medicine. When she isn’t working in the garden, cleaning the henhouse, preserving food, crafting herbal formulations, or writing and editing content for really fantastic small businesses, you’ll likely find her with her nose in a book.


WELCOME

We offer one of the most thorough selections of certified organic herbs, spices, and botanical products and are commited to responsible sourcing.

How to Harvest, Dry, & Store Herbs From the Garden

Hanging fresh herbs to dry.

Whether you have acreage for a big herb garden or, like me, you’re trying to get as many herbs as you can in your small space—using patio pots, and windowsills, and waging war on every spot of lawn grass that you can eradicate—preserving our mid-summer herbal harvest is a deeply satisfying way to carry the magic of life-giving summer into the cold winter months. Drying our own herbs is remarkably simple and doesn’t require expensive special equipment—just some rubber bands and a piece of screen or a drying basket. If you’re ready to harvest your own herbs, here are a few pointers on drying and storing your bounty.

Harvesting: A Quick Introduction

Different herbs appreciate different harvesting methods and if you’re not sure, having a good herb growing reference is helpful. I’m currently a big fan of The Healing Garden by Juliet Blankespoor; this book is beautiful, incredibly approachable, and very comprehensive. I also recommend your local library, nursery or garden store, and of course there is a wealth of information that is just one quick online search away. That said, you don’t need extensive knowledge to get started and there are a lot of generalities we can talk about. Starting with this: be sure to handle fresh plant material gently so as not to bruise it.

How to Harvest Leaves and Flowers

To harvest the aboveground parts of herbs, you’ll need a basic pair of kitchen or garden scissors for delicate botanicals like mint, dandelion leaves, sage, cleavers, etc. If you’re working with woody or thicker stems, you may want to bring along a good pair of pruners. Generally, you want to harvest in the spring or early summer, and choose strong stems with healthy, intact leaves. If using more than flowers, cut close to the base of the stems, leaving some foliage so you can potentially get another harvest or even two. Harvest leaves and flowers in the morning after the dew has evaporated.

How to Harvest Roots

In the fall, plants go dormant and store their energy—including their supportive constituents—in their roots to prepare for winter. So, to get the most of roots, we want to harvest them in the late fall or early spring when the ground thaws: when there is enough plant material for us to identify the herb, but they haven’t yet started pushing their energy into new growth. You’ll need a digging fork or shovel to carefully dig around the plant and to loosen the soil so you can get down to the roots. It’s important not to harvest the entire root system, so the plant has plenty left to re-grow. Also, I try to give my plants a year or two off before harvesting again.

Hand showing sprig of mint.

Preparing Your Harvest for Drying

It is important that you process your harvested botanicals for drying as soon as possible. Shoving a bunch of harvested plant material together into a bag or leaving them out in the sun to deal with later will damage the plants and actually start the composting process. If you are transporting herbal material, lay it in thin, covered layers. Paper bags or kitchen towels can work well for this, but you'll want to avoid plastic bags as they can create heat and trap moisture. 

Leaves and Flowers: If you are working with organic herbs and you don’t have dogs like mine running all over your yard kicking up dust, you may not need to wash your cuttings. Give your harvest a gentle shake to notify insects it’s time to crawl away and then lay your harvest in a thin single or double layer on a clean surface. You will want to get them in the shade as soon as possible. Now you can “garble” your botanicals—pick out anything that is wilted, diseased, or has spots or insect damage. If you do not have a pristine, organic herb garden, you may need to gently wash the herbs in cool water to remove dirt or clinging insects. Gently shake off excess moisture.

Roots: You’ll want to clean your harvested roots as soon as possible. If they are relatively straight, you can put them in water and use a scrub brush to scrub away the dirt. Be completely over-the-top about this because any dirt remaining on your roots will end up in your formulations. If the roots are twisted or wound around each other, use a pair of pruners to cut them into smaller pieces so you can get them really clean. One of the reasons to do this as soon as possible after harvest is that the roots become increasingly difficult to chop as they dry. When your roots are very clean, chop or cut them into small pieces.

Drying fresh mint on a screen.

How to Dry Fresh Herbs

There are two keys to success when drying herbs so they don’t mildew: they need a warm area with good airflow. Note here the word “warm”; too much heat will roast your plant material (which makes it lose color and potency) instead of nicely drying it, so you don’t want to put herbs in a window that gets direct sun. You can open a window or add a fan in the room to create airflow if necessary, but make sure it’s not blowing directly on them so much as flowing around the room.

Bundling Herbs for Air Drying: One of the easiest ways to dry long-stemmed botanicals (lavender, rosemary, etc.) is the time-tested method of bundling the stems and hanging them upside down. I had always done this with a piece of twine and inevitably, as the stems dried and shrank, pieces would slip out and drop. Happily, Juliet Blankespoor, of the Chestnut School of Herbal Medicine, taught me to use rubber bands instead; this was a total game-changer because as the stems shrink, so does the rubber band—voilà, no dropped stems! I also learned from her that it helps to dry in fairly small bundles—approximately 10 stems, and less if you’re drying dense plant material—that you then divide in half so that the center of the bundle dries evenly. So, take your little bundle of stems and divide it in two. With the flowers hanging upside down, make a wrap with the rubber band around this half of the stems closer to the ends of the stems than the flowers. Now add the second half and wrap the entire bundle until the rubber band is almost used up. Loop the last bit over several stems to hold it in place. The handy thing about this method is you can now split open the bundle and set it on a string, rod, or hook so that the stems and flowers hang down on both sides. So simple!

If you are drying herbs for the seeds (fennel, dill, etc.), you can slip a small paper bag over the dangling flowerhead and secure it in place with twine or a rubber band. Then the seeds drop into the bag as the botanical dries.

Washing fresh herbs to be dried.

Using Screens for Air Drying: Remembering that airflow is key to drying plant material, you will need a screen or loosely woven basket for herbs that cannot be bundled: flowers, small leaves, roots, bark, etc. You can find commercial drying racks for a reasonable price, but I found and upcycled a nylon window-screen that was still in its lightweight frame, and my friend who is handy with tools built her own with caning from an old chair and scrap-wood. I’ve also successfully used a fine-mesh sieve when I have smaller quantities of herbal bits and pieces. Lay the plant material in a single layer without overlapping on the screen or basket and set it up in the house out of the way where it will get warmth and air from all sides. Once a day or so, gently shuffle the drying herbs around so all sides are exposed to the drying air.

Using a Dehydrator for Drying: A basic home dehydrator that works well on the lowest heat setting can be a wonderful way to dry herbs if you keep a close eye on it. I particularly like my dehydrator for roots and barks. Follow the directions on your dehydrator for the lowest setting and check the herbs often so you don’t let them go too far. They can dry in as little as a couple hours or may take longer, so don’t plan to set it and forget it. And don’t give in to the temptation to hurry the process by cranking the heat; that is a good way to end up with overly dried herbs that have diminished potency, color, and flavor.

How to Dry Herbs in the Oven—In general, I don’t recommend this. It’s do-able, but it’s just so easy to destroy all the goodness in your herbs by trying to rush the drying process. You need an oven with a pilot light or the ability to hold a very low temperature; think sunny-day temperature, not cooking temperature. To get the necessary airflow, you need to crack open the door and if you have convection, that can help to get the air moving as well so long as you don’t have tiny leaves that will blow all over the place. Botanicals should be placed on cooling racks and then put on the oven rack rather than on a pan, for that all-important air circulation. Also, I suggest putting a sign on the stove if you live with other people who might turn the oven on without thinking. Something like DON’T ROAST MY HERBS!

Plan to store herbs as soon as they are dried. They lose vitality if left out for too long after they are dry, and you don’t want them to get dusty.

 Drying Herbs - Storage

Best Way to Store Dried Herbs

Your herbs must be thoroughly dried before you prepare them for storage. Any remaining moisture can create mold growth in stored herbs. For leaves and flowers, rub between your fingers. If it bends or doesn’t feel dry and “crisp,” then let it dry a little longer. When properly dried, leaves will often crumble when rubbed. For roots and barks, if they are brown, shriveled, and feel dry, cut several pieces to make sure they are dry all the way through. If so, they are ready for storage.

When your herbs are thoroughly dry, they are ready to be prepared for storage. Plan to store your dried herbs in well-sealed glass jars in a dark cool area. A closet, a cabinet, the basement, or even in boxes under your bed are all viable options. I keep the bulk of my herbs in my apothecary or my basement, and bring up smaller quantities for daily use at the stove. Also, remember to label your jars with the name of the herb and the date it went into the jar.

Small Leaves, Flowers, and Chopped Roots and Barks—These herbs are generally dried on screens or baskets and can go into a jar as-is. You can break them down a little before storing if necessary to make them fit, but otherwise they will stay fresher longer if you leave them in their whole state. The exception to this is if you are making a batch of a culinary herb. In this case you can break up the plant material into finer pieces and pick out stems and other hard bits so you have a lovely herb ready to be used in your finest dishes.

Flowers and Herbs with Stems—You need to strip the leaves, flowers, berries, needles, etc. from the stems. You don’t have to be as gentle here as you did when the herbs were fresh. Remove any discolored leaves, twigs, etc. Store herbs whole or broken down.

When properly dried and stored, leaves and flowers are shelf stable for 1-2 years and roots and barks can last 2-3 years.


Want to Improve your gardening plan?

Learn About the Benefits of Companion Planting with Herbs


You may also enjoy:


Topics: Herbalism, Green Living

Heidi

Written by Heidi on July 18, 2022

Heidi is an award winning freelance writer with a passion for urban homesteading. She has been honored to receive a number of literary prizes including the esteemed Pushcart Prize and an Individual Artists Award in Creative Writing from the Oregon Arts Commission and the National Endowment for the Arts. She is proud to have earned a certificate of completion for the Herbal Medicine Making Course at the Chestnut School of Herbal Medicine. When she isn’t working in the garden, cleaning the henhouse, preserving food, crafting herbal formulations, or writing and editing content for really fantastic small businesses, you’ll likely find her with her nose in a book.